Taking a screenshot, also known as a screen capture, allows you to capture an image of your computer screen. Once captured, you can save the screenshot, paste it into documents or emails, or edit it using image editing software.
In today’s digital age, knowing how to capture screenshots on your laptop is an essential skill. Whether you need to save important information, share content on social media, or troubleshoot technical issues, being able to take screenshots quickly and efficiently is invaluable.
In this complete guide, we will walk you through various methods to capture screenshots on different laptop models i.e. HP, Lenovo, Dell, and operating systems. From Windows laptops to MacBooks, we have you covered.
How to Take Screenshots on Windows 10/11 on Your Laptop
You can easily take screenshots on Windows 10/11 by using several built-in methods on your Laptop. You can also take screenshots on HP and Dell laptops using the following methods. So, let’s explore some of the most common and convenient options.
1. Using the Print Screen Button
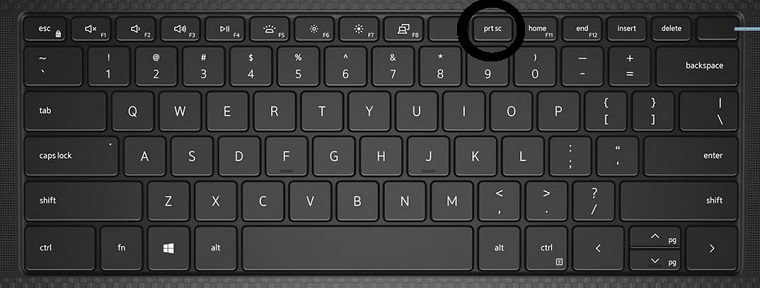
One of the simplest ways to capture a screenshot on laptops Windows 11/10/7 is by using the Print Screen (PrtScn) button. Follow these steps:
To capture the entire screen:
- Press the Windows logo key + the PrntScrn key together.
- On tablets, press the Windows logo button + the volume down button together. (The screenshot is saved in the Screenshots folder in the Pictures folder.)
To capture all active windows:
- Press the PrntScrn key.
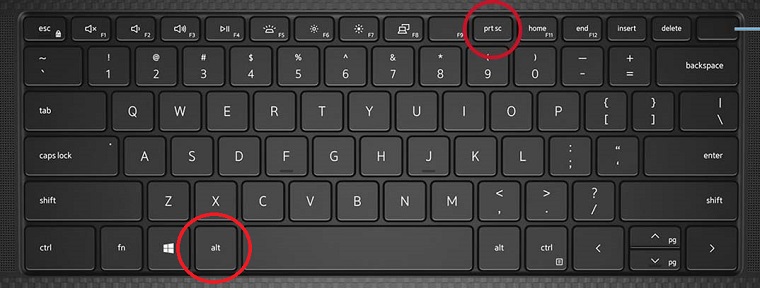
To capture a single active window:
- Tap or click the window that you want to capture.
- Press the Alt + PrntScrn keys together.
The screenshot is automatically copied to your clipboard. Open an image editing software like Paint or Photoshop and paste the screenshot using Ctrl + V. Edit or save the screenshot as desired.
2. Using the Snipping Tool
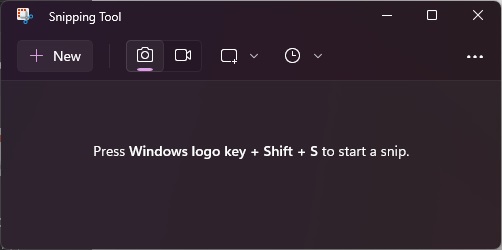
Windows also provides the Snipping Tool, which offers more versatility in capturing specific portions of your screen. Here’s how to use it:
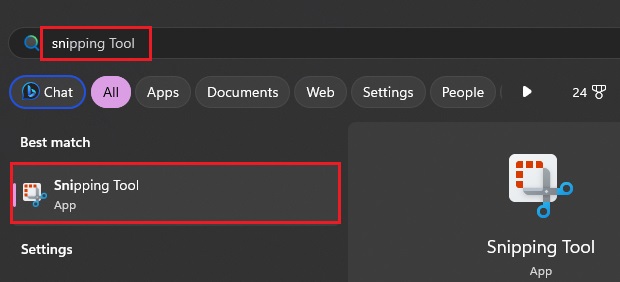
- Search for “Snipping Tool” in the Windows search bar and open the application.
- Select the type of snip you want: Free-form, Rectangular, Window, or Full-screen.
- Click and drag your cursor to capture the desired area.
- Release the mouse button to take the screenshot.
- Use the Snipping Tool’s editing options to annotate or highlight the screenshot.
- Save the snip in your preferred format.
3. Using the Game Bar
If you’re a gamer or need to capture screenshots while playing games, you can use the Game Bar feature on Windows laptops. Follow these steps:
- While in-game, press the Windows key + G to open the Game Bar.
- Click on the “Capture” button represented by a camera icon.

- Choose whether to capture the entire screen or a specific window.
- The screenshot will be saved in the “Captures” folder within the “Videos” directory.
4. Third-Party Apps for Advanced Features
If you require more advanced features, such as automatic uploading of screenshots to the internet or additional editing options, you can explore third-party screenshot applications. Some popular options include Snagit, Greenshot, and Lightshot.
Moreover, you can utilize screencasting software on your HP laptop to capture video recordings of your screen. This can be helpful for creating tutorials, demos, or presentations. Some popular screencasting software options include OBS Studio, Camtasia, and Bandicam.
Easy Methods to Take Screenshots on Laptops
Regardless of your laptop model or operating system, there are some common methods to capture screenshots. Let’s explore these easy methods.
1. Take Screenshots Using Keyboard Shortcuts
One of the quickest ways to capture screenshots on your laptop is by utilizing keyboard shortcuts. Here are some commonly used keyboard shortcuts for different operating systems:
- Windows: Press the Windows key + Shift + S as this shortcut opens the Snip & Sketch tool, allowing you to capture a specific portion of the screen.
- Mac: Press Command + Shift + 3 to capture the entire screen or Command + Shift + 4 to capture a selected portion.
- Chromebook: Press Ctrl + Show Windows (or Ctrl + F5) to capture the entire screen or Ctrl + Shift + Show Windows (or Ctrl + Shift + F5) to capture a selected portion.
2. Taking Screenshots of Active Windows
If you only need to capture a specific active window on your laptop, follow these steps:
- Click on the window you want to capture to make it active.
- Locate the keyboard combination for capturing screenshots of active windows. It may involve pressing the Alt, Fn, or Shift keys in addition to the designated screenshot key.
- Press the appropriate keyboard combination to capture the active window.
- The screenshot is copied to your clipboard.
- Open an image editing software and paste the screenshot using the Ctrl + V keyboard shortcut.
- Edit or save the screenshot as desired.
Tips and Tricks for Effortless Laptop Screenshotting
To take your laptop screenshotting skills to the next level, consider implementing these tips and tricks:
1. Utilizing Third-Party Screenshot Tools
While the built-in screenshot options on laptops are often sufficient, third-party screenshot tools offer additional features and customization options. Some popular third-party tools include Snagit, Greenshot, Lightshot, and ShareX. Explore these tools to find the one that best suits your screenshotting needs.
2. Taking Scrolling Screenshots
Sometimes you may need to capture an entire webpage or document that extends beyond the visible screen area. In such cases, consider using tools like the Snipping Tool (Windows) or browser extensions like Fireshot (Chrome) to capture scrolling screenshots. These tools automatically scroll and charge the entire content, allowing you to save it as a single image.
3. Customizing Screenshot Settings
Most operating systems and third-party screenshot tools offer customization options for screenshot settings. You can adjust settings such as file format, screenshot quality, save location, and hotkeys to streamline your screenshotting workflow and tailor it to your preferences.